
Professional Hospital furniture manufacturer
Not only provide high-quality hospital furniture, but also provide one stop hospital furniture purchase solution.
Top one of hospital furniture suppliers in China
Grace Medical Instrument Co., Ltd.
Grace Medy as a source hospital furniture factory integrating R&D, production and sales,have a 32,000 square meter intelligent hospital furniture production factory with independent R&D team.
Main products:
Hospital furniture: hospital beds,hospital bed accessories, nursing beds, matching cabinets, emergency trolleys, hospital furniture chairs,etc.;
Rehabilitation equipment: wheelchairs, walkers,matching transfer machines and others ;
Customized products: customize exclusive products for customers (ODM)/ produced for customers with labels (OEM);
As one of hospital furniture manufacturers,Grace Medy provides solutions for overall hospital projects, including hospital furniture and medical equipment. Our hospital furniture portfolio covers a wide range of categories, which can be purchased more easily through flexible supply chain solutions, so as to deliver the products you need faster.

ADVANTEGES
Our eco-friendly medical products
meet EU standards
and hold ISO13485, CE,
and FDA certifications.
PURPOSE
Focus on R&D for healthcare and hospital furniture,
meeting diverse international needs to
provide patients and the elderly
with a safe, convenient, and
healthy rehabilitation environment.
PHILOSOPHY
Serve hospital furniture wholesale clients in more than
150 countries, and mission
is to work together to promote
global health and advance healthcare.

QUALITY
15 years of focus on hospital bed design, production,
and service, 15 quality control before sales,
before production, before shipment,
before packaging, and after sales.
SERVICE
Have a complete medical production line
(including hospital furniture
and rehabilitation equipment)
so we can provide one-stop service.
Complete hospital furniture supply.

AFTER-SALES
One-year warranty;Five-year maintenance;
Ten-year spare parts supply.
Respond within 24 hours and
provide solutions within 48 hours.

Why Choose US
YOUR TRUSTED SUPPLIER OF HOSPITAL FURNITURE AND REHABILITATION EQUIPMENT
Service Strength
Quick response within 2 hours
Hospital furniture customization needs service
Help you cut costs by 10% on procurement.
Help you close deals within 7 days with your customer.
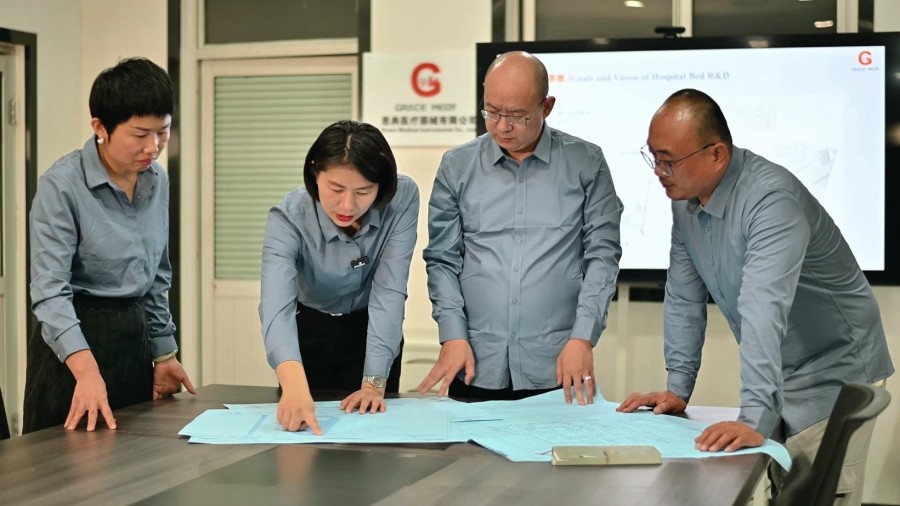
Hospital furniture R&D Strength
Independent, high-tech hospital furniture R&D team;
Multinational technology exchange team;
Multiple successful hospital furniture cases for customers;
Product Strength
Factory location provides cost advantages in steel.
Complete manual, electric, and intelligent categories;
Strict factory inspection standards;
Provide you with one-stop hospital furniture solution.
15 years experience in hospital furniture supply
certificates and patents
export countries
factory area
product series
One-stop Procurement Service
YOUR TRUSTED SUPPLIER OF HOSPITAL FURNITURE AND REHABILITATION EQUIPMENT
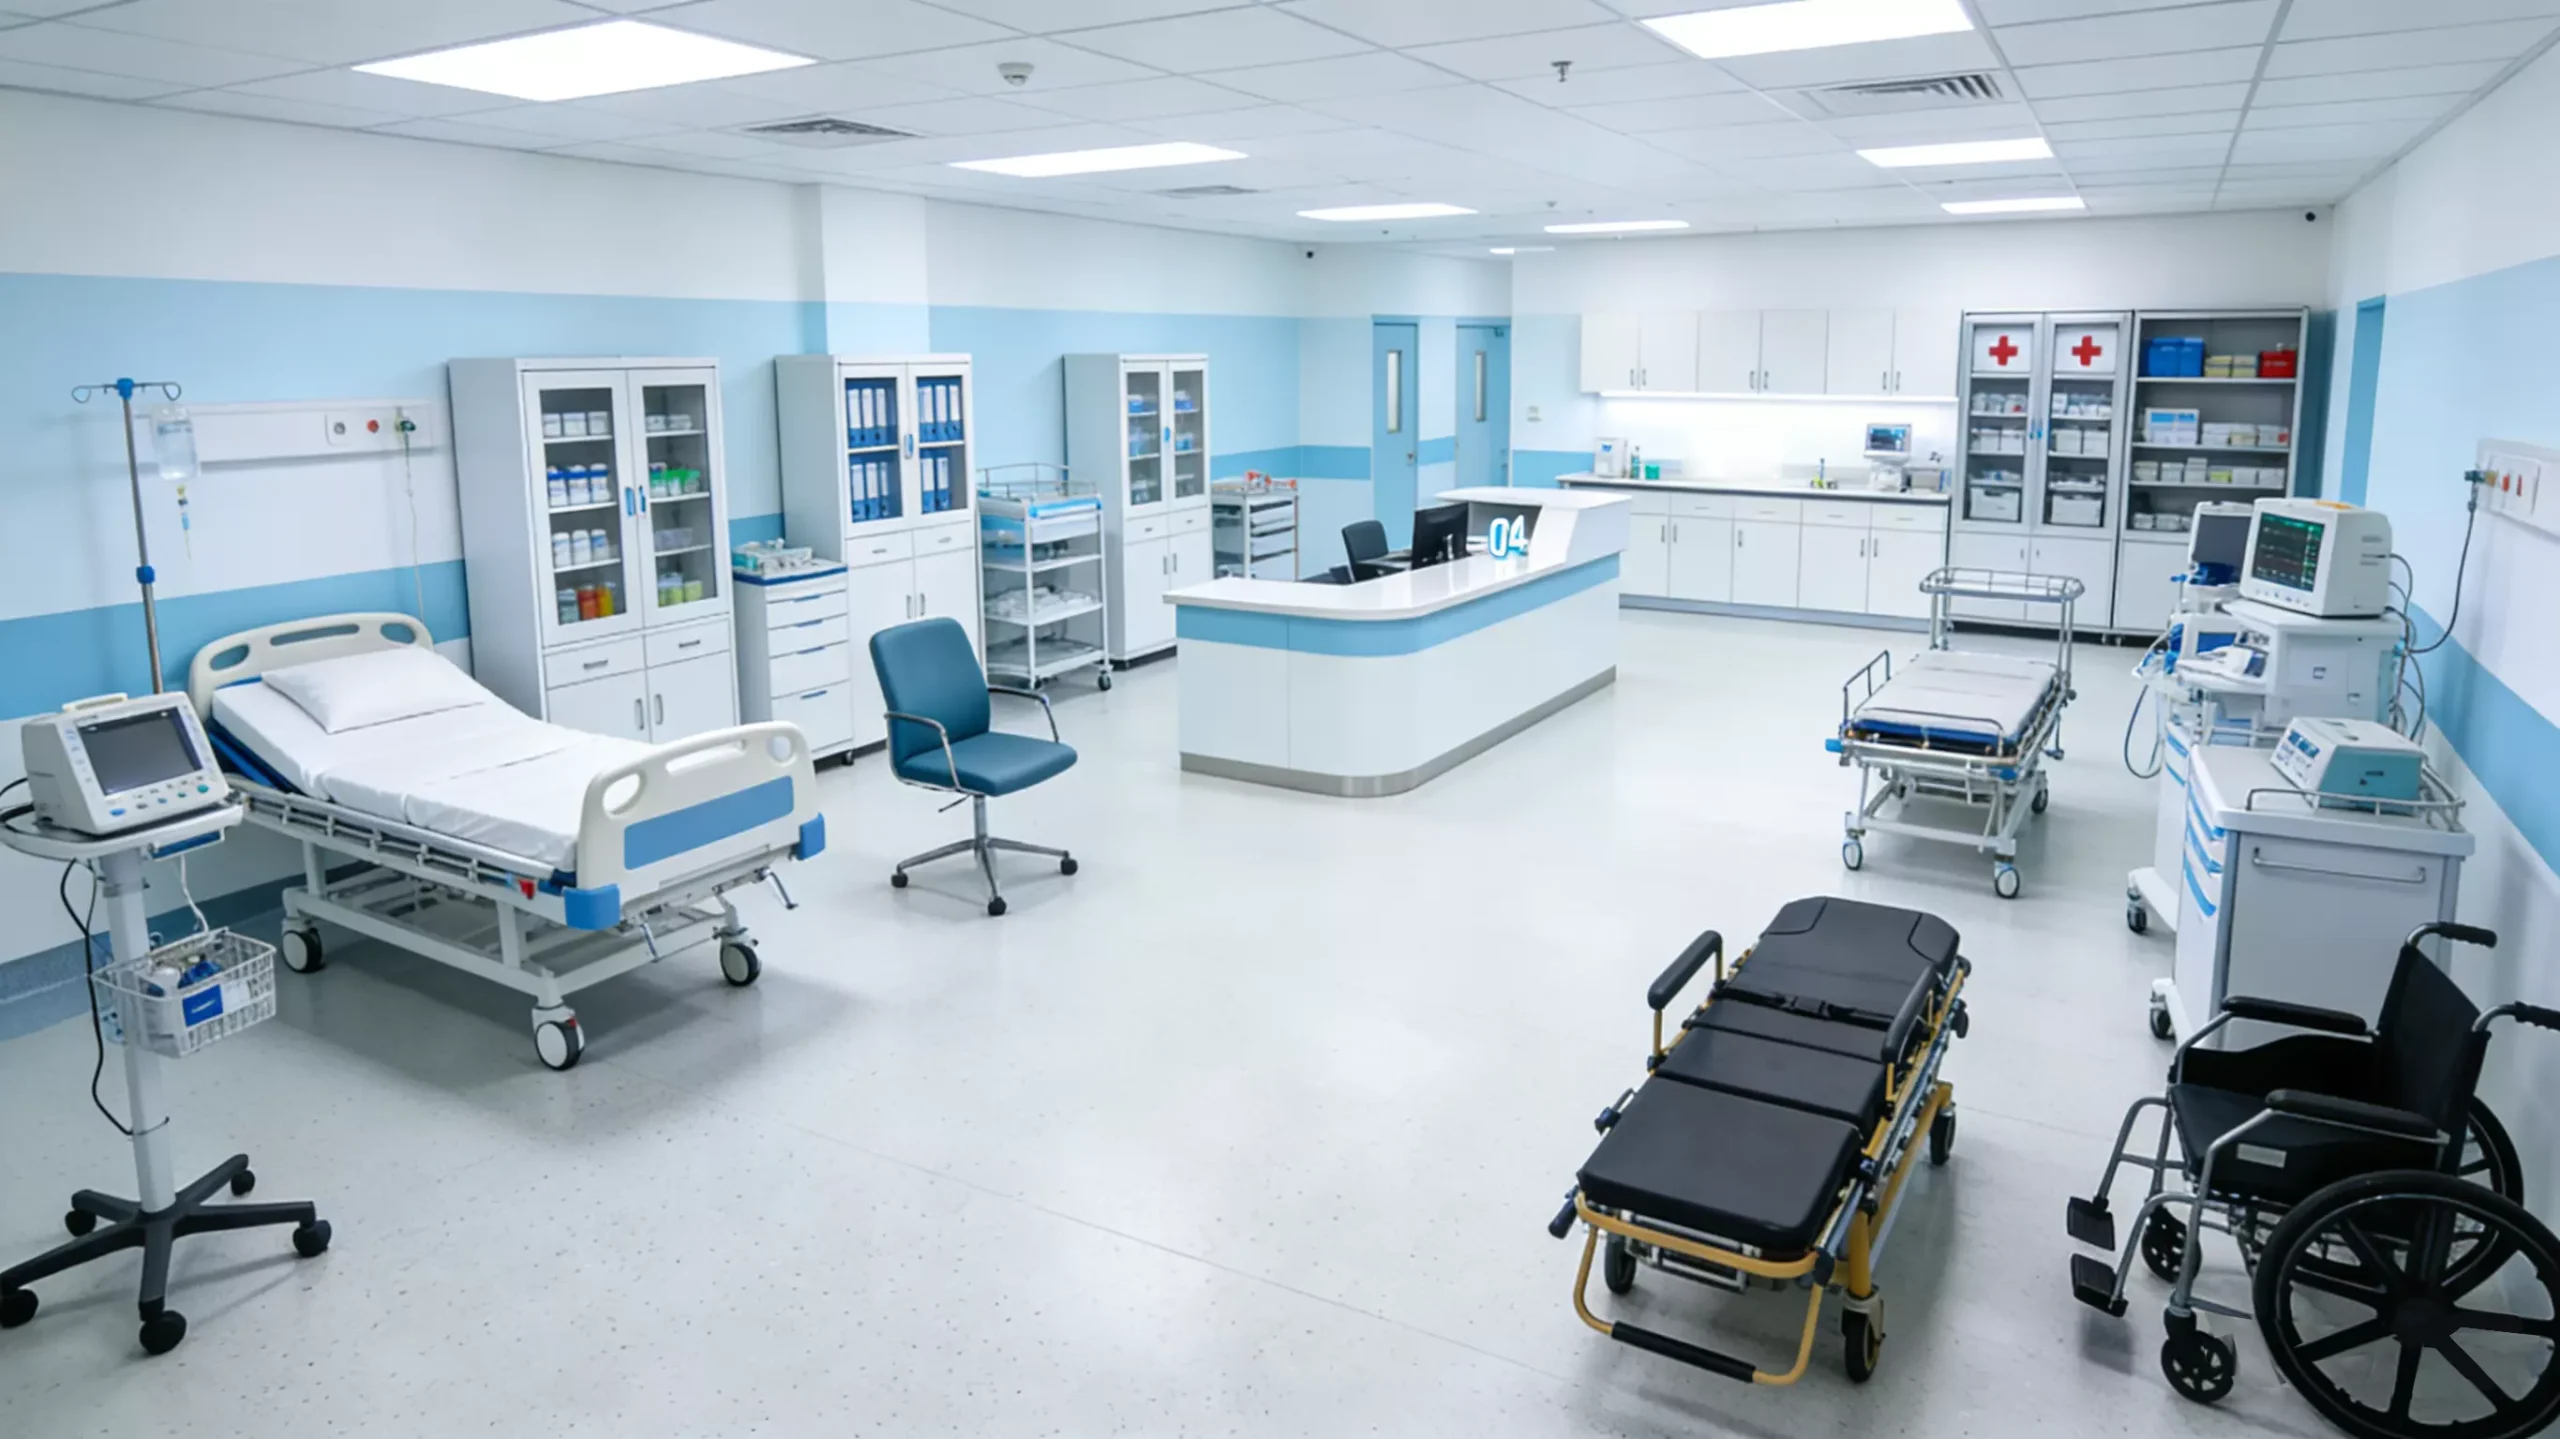
As a reliable professional hospital furniture manufacturer,we provide complete hospital furniture for various medical scenarios.
We serve hospitals, nursing homes,rehabilitation centers and medical clinics. We offer one-stop procurement service.We can match all required goods for your project in one stop.Save your time and simplify your purchasing process.
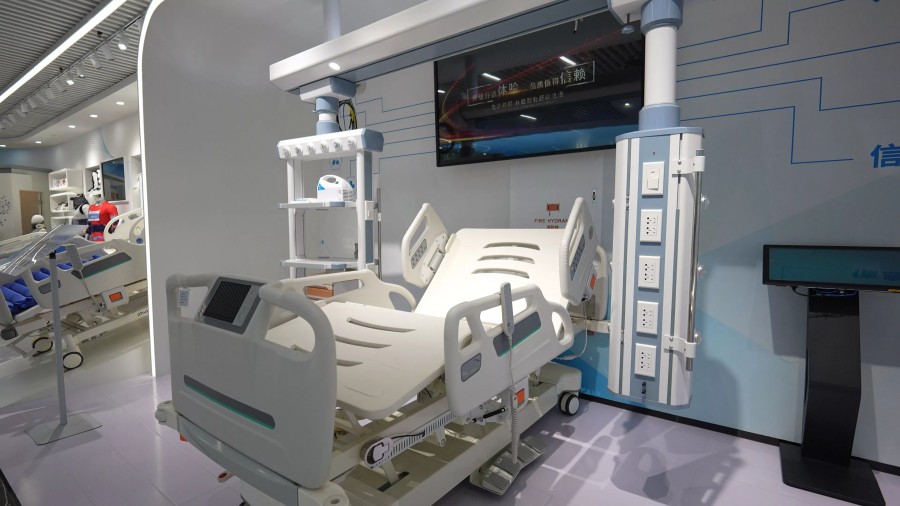
ICU Ward Solutions
Safe and intelligent ICU care furniture
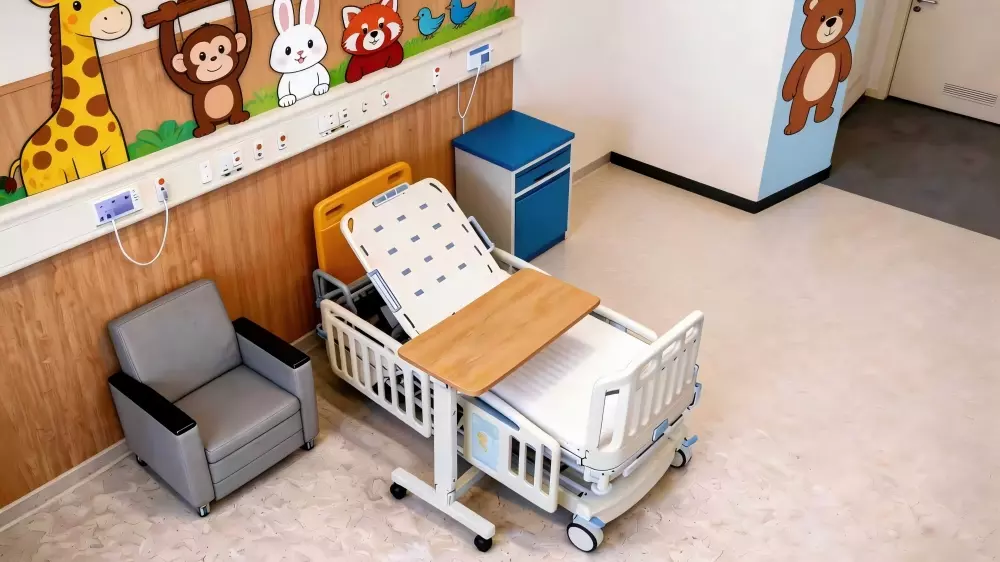
Pediatric Ward Solutions
Child-safe and friendly medical furniture
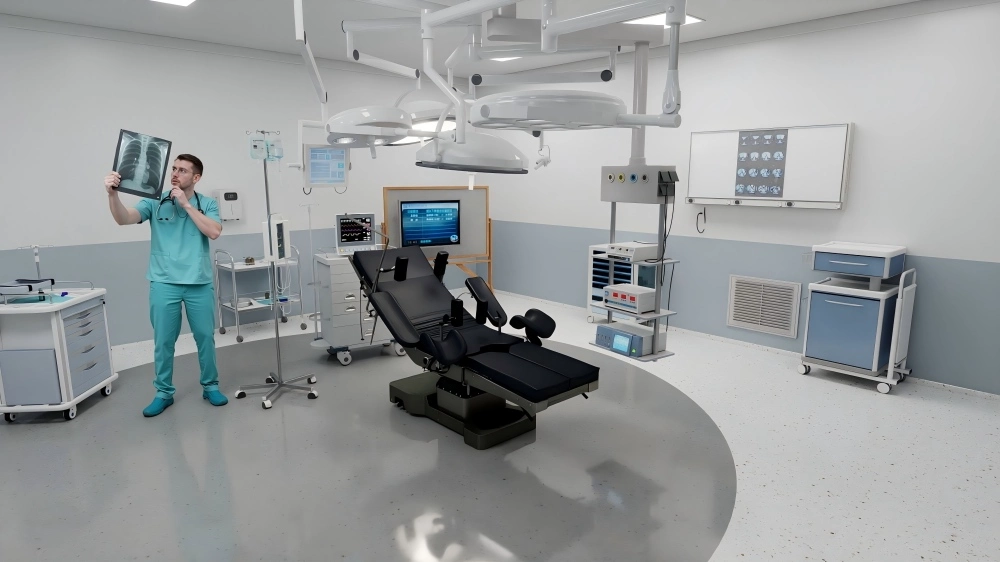
Operating Room Solutions
Sterile and stable OR medical equipment
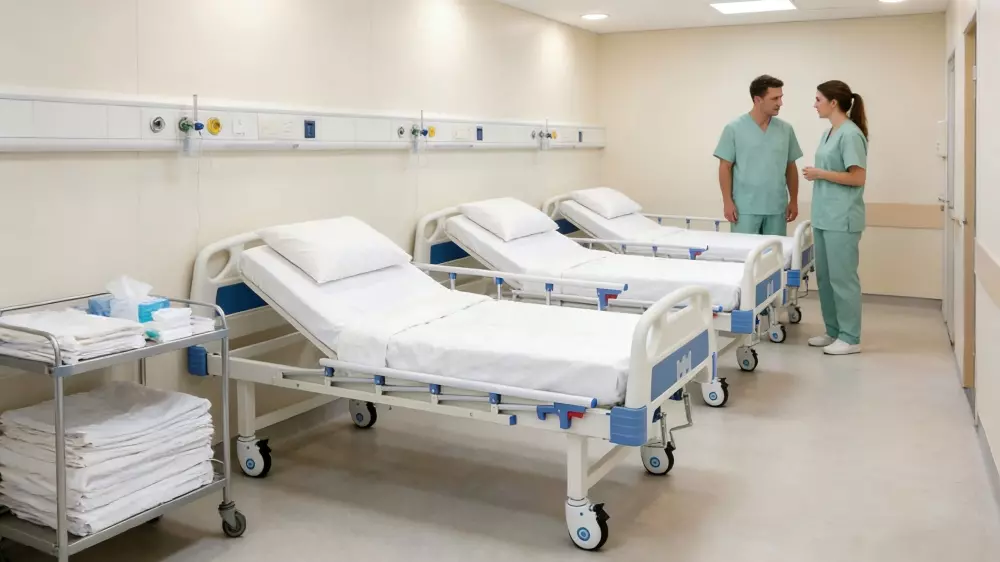
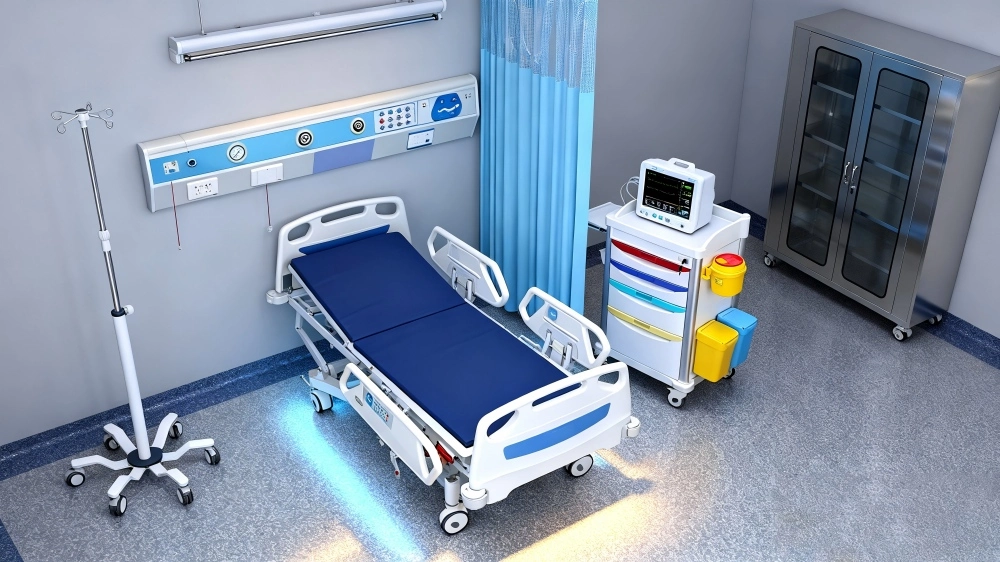
General Ward Solutions
Durable and cost-effective ward facilities

Gynecology Scene Solutions
Private and humanized gynecology exam furniture
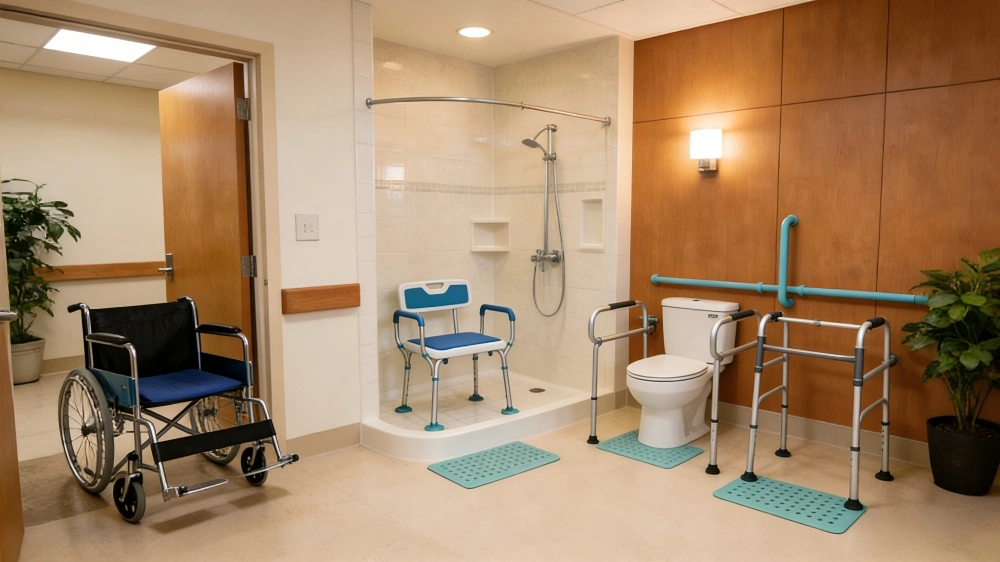
Rehabilitation Solutions
Professional rehab equipment and supporting furniture
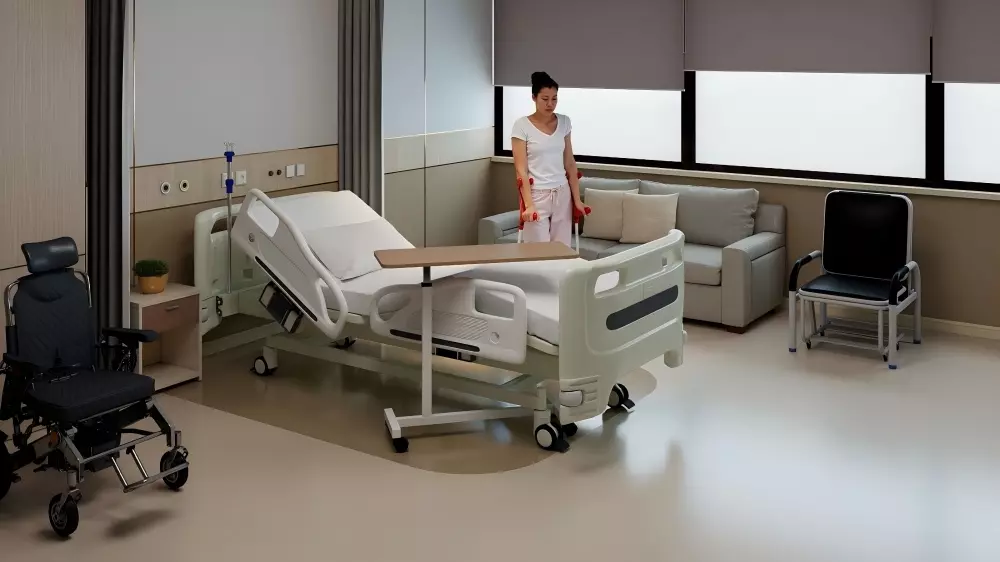
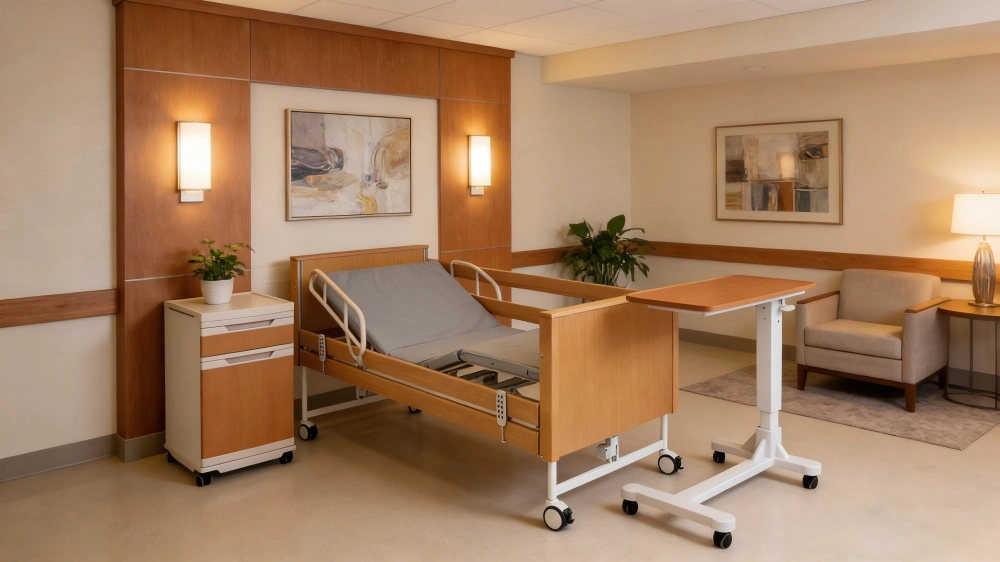
Luxury Ward Solutions
Premium comfort for high-end hospital wards
Emergency Room Solutions
Efficient emergency trolleys and stretchers
Elderly Care Solutions
Ergonomic design for nursing home use
How To Get A Personalized Hospital Furniture Solution
Product Customization
As a hospital furniture manufacturer,for hospital furniture/hospital bed functions, colors, and materials,professional R&D team will clarify your customization needs.Than transform your innovative ideas into high-quality products and pay attention to every detail of your requirements.
Packaging customization
Grace Medy factoty customize hospital bed packaging by analyzing customer needs, designing protective solutions, selecting appropriate materials, and ensuring safe assembly and labeling for efficient transportation, guaranteeing product integrity during delivery.
Smart technology integration
Grace Medy provide professional hospital space layout and planning services to optimize the functionality and usability of hospital rooms as a hospital furniture manufacturer. Integrate smart technology and advanced medical equipment into our furniture to improve overall efficiency and enhance the patient experience.
Reduce your purchasing costs
Grace Medy as one of reliable hospital furniture manufacturers reduce procurement costs for hospital furniture by optimizing purchasing, implementing efficient inventory management, enhancing production processes, and utilizing innovative technologies, ensuring quality while lowering expenses for our customers.
Continuous feedback
You can provide us with valuable feedback at any time during the use of the product, allowing us to make necessary optimizations and adjustments as a hospital furniture manufacturer. We are always ready and eager to provide you with comprehensive after-sales service and support.
One stop solution provide
Communicate with professional team to clarify the specific needs of the hospital, including function, style and space layout. As a hospital furniture manufacturer Grace Medy can develop a hospital furniture matching plan that meets the needs of the hospital and optimize the experience of patients and medical staff.
How do our customers rate us?
We deeply appreciate your company’s professionalism and rich experience. Your thoughtful guidance helped us save a lot of costs and provided a perfect solution!
As a hospital furniture manufacturer, your service is excellent. Timely delivery and professional advice made our procurement process easy and smooth. Thank you for your support!
Your company not only provides high-quality hospital furniture, but also provides professional solutions according to our needs. Your team has helped us greatly improve our work efficiency!
GRACE MEDY NEWS
Get In Touch with professional hospital bed manufacturers!
Phone:(+86) 19333723988
Location
Zaoqiang County, Hengshui City, Hebei Province, China
